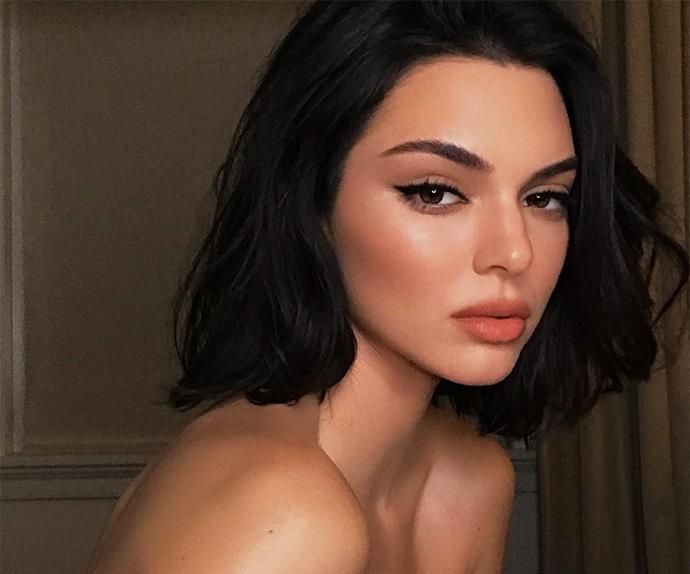
Winged eyeliner is a makeup technique that has stood the test of time. Many people make it a staple of their beauty routines, enamored by its ability to enhance the eyes and add a touch of sophistication. Achieving that perfect wing can be a challenge for beginners and even seasoned makeup enthusiasts. However, with the right guidance, anyone can learn how to create a beautiful wing that complements their eye shape. In this detailed guide, we will walk you through the steps and provide tips and tricks to ensure a flawless look every time. So, grab your eyeliner, and let’s get started!
Before diving into the application process, it’s crucial to familiarize yourself with the tools at your disposal. The world of eyeliners is vast, offering various formulations that cater to different needs and preferences. Knowing the differences can significantly impact how easily you can achieve your desired look. In this article, we’ll also cover specific techniques that will help you refine your skills. From selecting the right type of eyeliner to mastering the flick, we’ve got you covered. By the end of this guide, you’ll be well-equipped to take on any winged eyeliner challenge.

Understanding the Basics of Winged Eyeliner
Winged eyeliner can dramatically change your appearance, giving you a polished and chic look. Understanding the different styles available will allow you to customize your wing based on your personal taste. You might prefer a subtle, elongated flick for a daytime look or a bold, dramatic wing for a night out. The beauty of winged eyeliner is its versatility; it can be adjusted to suit any occasion. It’s also essential to understand that different eye shapes may best accommodate different wing styles. This awareness enables you to enhance your natural features effectively.
Choosing Your Eyeliner
When selecting your eyeliner, consider the different types available, each offering unique advantages. Below are the primary types of eyeliners you can consider:
- Liquid Eyeliner: Best for sharp, defined lines, offering long-lasting wear.
- Gel Eyeliner: Provides precision and is easier to control than liquid eyeliner.
- Pencil Eyeliner: Perfect for beginners, though it may require touch-ups throughout the day.
Choose the one that aligns with your skill level and the look you wish to achieve. This selection is a crucial first step in your winged eyeliner journey, so take your time finding your perfect match. With the right eyeliner, you’ll gain more confidence in your application process and be less intimidated by the technique.
Step-by-Step Application
Now that you’re familiar with the basics of winged eyeliner, let’s dive into the step-by-step application. Achieving that perfect wing requires patience and practice, but it’s a skill worth mastering. Start with a clean canvas; make sure your eyelids are devoid of any residue or oils that could affect your eyeliner’s performance. Many people also find that using an eyeshadow primer can help to create a smoother base for their eyeliner. This step not only helps the eyeliner to glide on more effortlessly but also increases its longevity and prevent smudging throughout the day.
Step 1: Prepare Your Lids
Apply primer to your eyelids if you have one, and then allow it to set for a minute. This is especially useful if you have oily eyelids. Once prepared, use a neutral eyeshadow shade close to your skin tone to set the primer in place. This step is critical as it helps create that blank slate for your liner application. The smoother the surface, the easier it will be to apply your winged liner with precision. With clean lids, you’re ready to begin.
Step 2: Create a Guideline
Using a pencil eyeliner, start by drawing a light line along your upper lash line, keeping it as close to the lashes as possible. This will serve as the base for your wing and will guide your application. The line doesn’t need to be perfect, but keeping it neat will make the finessing that follows a lot easier. Many makeup artists recommend holding a business card or a piece of tape to create a straight edge for your wing. Adhere the tape at an angle from the outer corner of your eye towards your eyebrow to create an even look.
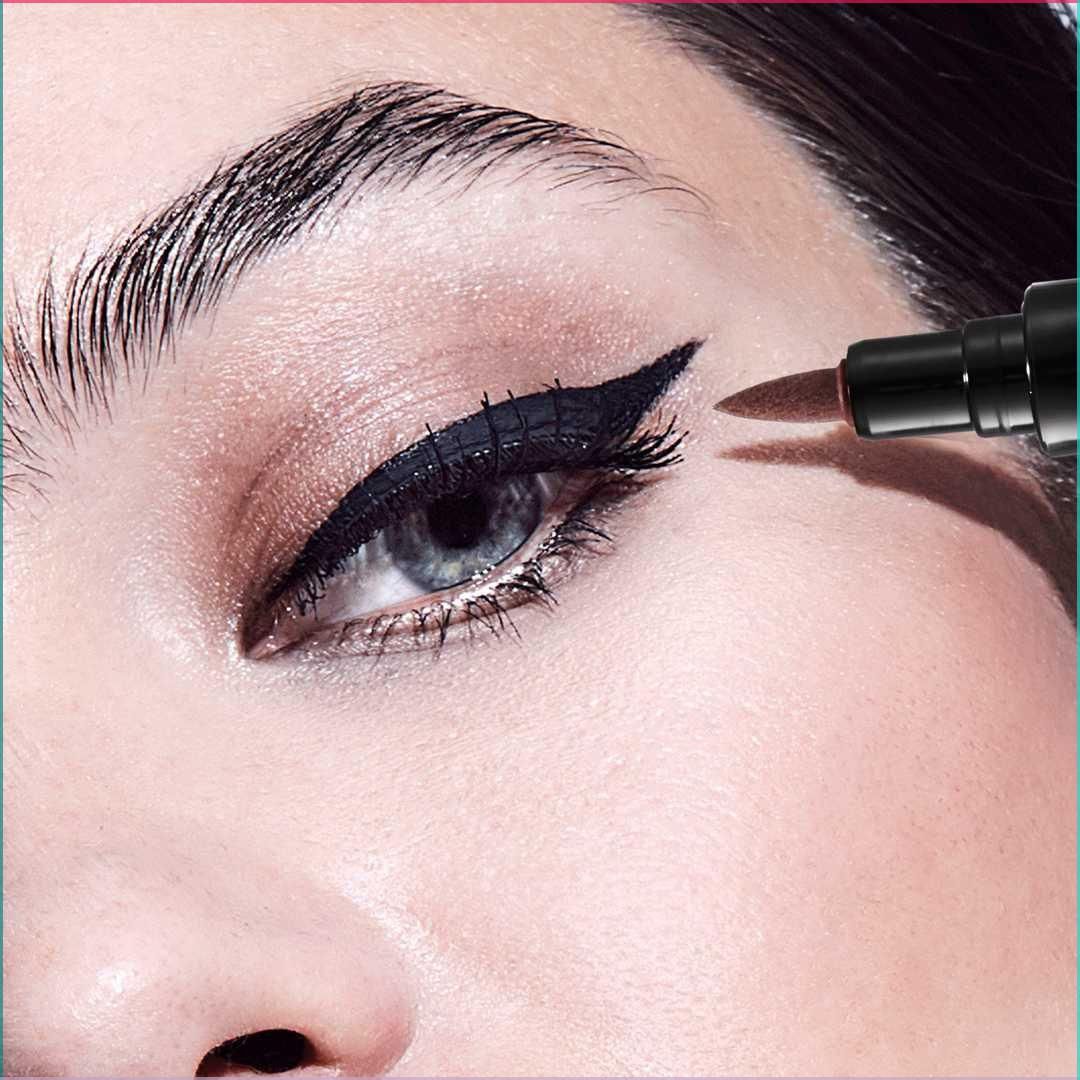
Step 3: Determine the Wing Angle
Now that you have your guideline, it’s time to determine the angle for your wing. Hold your eyeliner tool at the outer corner of your eye and extend it upwards toward the end of your eyebrow. This line will set the direction for your flick. You can experiment with different angles to see what looks best on you, as the perfect wing can vary depending on your features. Consider practicing this step by drawing gently with a pencil eyeliner to get comfortable with the shape before using liquid or gel for the final application.
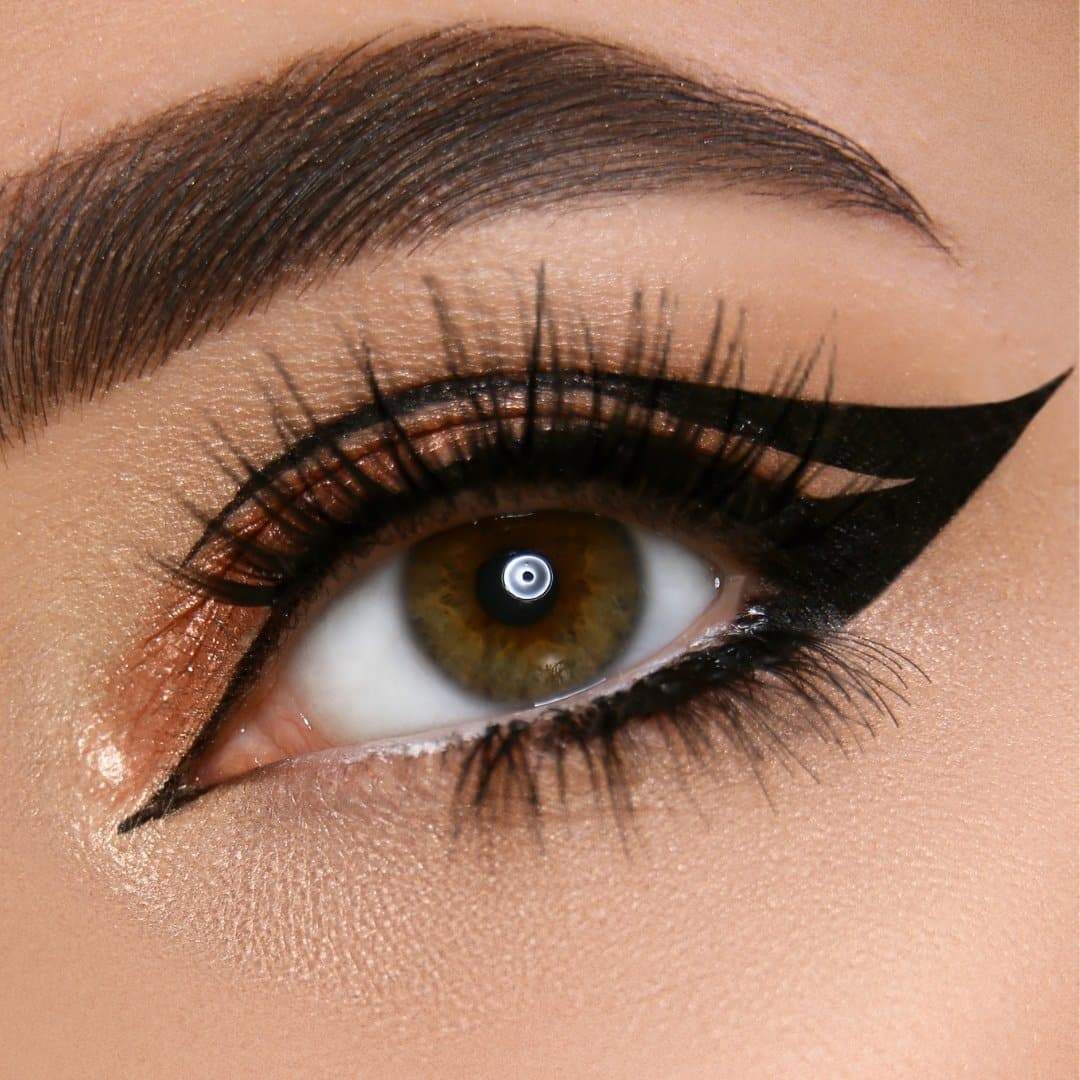
Step 4: Perfect the Wing
Once you’ve established the wing’s direction, start drawing the flick. Begin at the outer corner along the guideline made earlier and draw a line toward the outer edge of your wing. Connect this line back to your upper lash line, creating a triangular shape. This might take a few tries to get the perfect symmetry on both sides, so don’t hesitate to clean up any mistakes as you go. Building your wing gradually rather than all at once can help achieve more control and a cleaner finish. Remember, practice is key!
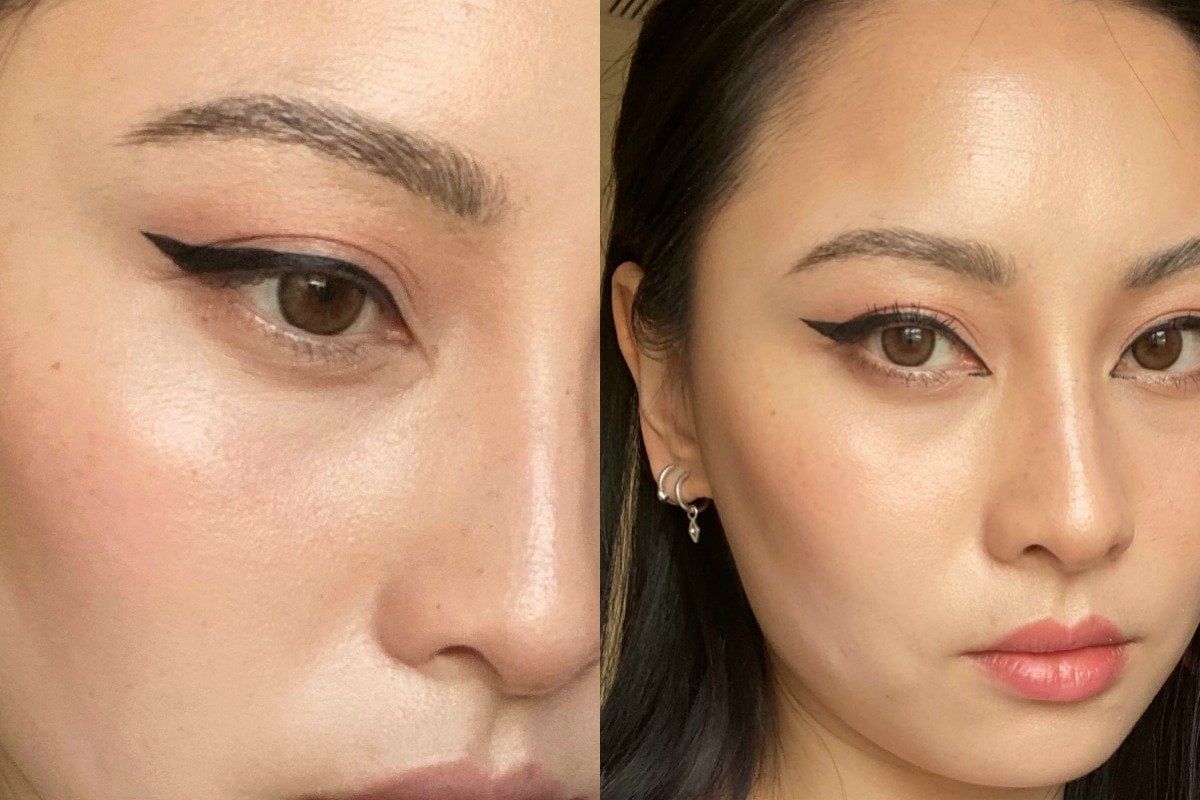
Step 5: Clean Up Any Mistakes
After you’ve drawn your wings, assess the look and see if you need any touch-ups or cleanup. It’s perfectly normal for winged eyeliner to require some adjustments. Use a cotton swab dipped in makeup remover or micellar water to tidy up the edges or fix any unevenness. This little step can transform your look from messy to immaculate in seconds. Be gentle during this process to avoid smudging a good portion of your effort. Ensuring both wings look similar is fundamental!
Step 6: Final Touches
Finally, to complete your eye look, apply mascara to enhance your eyelashes. A good coat of mascara not only opens up your eyes but also helps draw attention to the winged eyeliner. If you love a bolder look, feel free to apply a bit of eyeliner to your lower lash line. Just keep in mind that this can make your eyes appear smaller, so use it judiciously. Once you’ve finished up with mascara, take a moment to assess the overall look. A well-executed winged eyeliner should frame your eyes beautifully and showcase your stylistic flair.
Conclusion
Achieving the perfect winged eyeliner is a blend of technique, precision, and practice. With the steps outlined in this guide, you now have the tools to create a stunning eye look that enhances your beauty and boosts your confidence. Remember that perfection comes with time, so don’t be discouraged by initial challenges. Experimenting with different techniques and styles will help you discover what works best for you. Soon, winged eyeliner will feel like second nature, and you’ll be ready to showcase your skill at any occasion. Embrace this timeless technique, and let your eyes do the talking!
FAQ
| Question | Answer |
|---|---|
| What type of eyeliner is best for beginners? | Pencil eyeliners are the easiest for beginners because they allow for more control and can be smudged for a softer look. |
| How can I make my winged eyeliner last longer? | Start with a primer and set your liner with a matching eyeshadow to ensure it stays in place all day. |
| What should I do if my wings are uneven? | Use a cotton swab with makeup remover to correct any mistakes and ensure both wings are symmetrical. |
| Can I use eyeshadow for winged eyeliner? | Yes! You can use a small angled brush with eyeshadow for a softer effect. |
| Is it necessary to use tape for winged eyeliner? | No, using tape is optional. It’s a helpful tool for beginners, but with practice, you may find you don’t need it. |